Quick Start
Download
Download the current files for Windows and Linux here.
Requirements
Windows
- Nvidia graphics card (compute capability 3.5 or better)
- MATLAB 2018 or newer
- The latest Graphics driver
MacOS
Currently unsupported.
Using Hydra with MATLAB
- Download the MATLAB zip file from the download link above.
- Unzip the files.
- Place all folders with the + (plus) symbol in your MATLAB folder
- Windows:
C:\Users\username\Documents\MATLAB) - Linux:
/home/username/Documents/MATLAB
- Windows:
- Open MATLAB
- Check if Hydra is loaded by running:
dev = HIP.Cuda.DeviceStatus()
Using Hydra with Python
- Download the source zip file from the download link above.
- Unzip the files.
- Navigate to the
src/Pythonfolder. - Copy the
HIP.liborHIP.soto a location where you can import into python - Check if Hydra is loaded by running:
import HIP
dev = HIP.Cuda.DeviceStats()
print(dev)
Setting up VSCode for Development
Install python and conda
Create virtual environment from environment.yml.
conda env create -f src/python/environment.ymlActivate environment
conda activate hydraConfigure the project with cmake
- Windows - change
C:\Users\EricWait\git\programming\hydra-image-processorwith where you cloned the project to.
C:\Program Files\CMake\bin\cmake.exe" --no-warn-unused-cli -DCMAKE_EXPORT_COMPILE_COMMANDS:BOOL=TRUE -Sc:/Users/EricWait/git/programming/hydra-image-processor -Bc:/Users/EricWait/git/programming/hydra-image-processor/build -G "Visual Studio 16 2019" -T host=x64 -A x64- Linux - change
/home/ewait/git/programming/_core/hydra-image-processorwith the path that you cloned the project to.
/usr/bin/cmake --no-warn-unused-cli -DCMAKE_EXPORT_COMPILE_COMMANDS:BOOL=TRUE -DCMAKE_BUILD_TYPE:STRING=Release -DCMAKE_C_COMPILER:FILEPATH=/usr/bin/clang -DCMAKE_CXX_COMPILER:FILEPATH=/usr/bin/clang++ -S/home/ewait/git/programming/_core/hydra-image-processor -B/home/ewait/git/programming/_core/hydra-image-processor/build -G Ninja- Windows - change
Use CMake Tools extension to build all projects. I recommended that you build in
Releasemode, so you don’t need the debug libraries for python.To test that the build worked, run
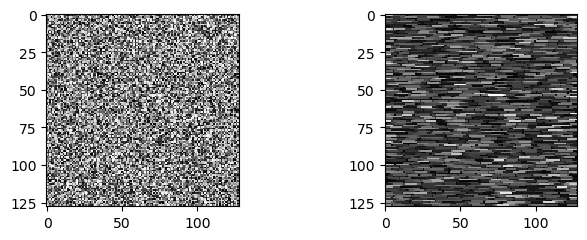
python src/Python/test_nonchunk.py. You should get the following output(1, 1, 12, 128, 128)with no errors.- In a windowing environment, you will also see

- In a windowing environment, you will also see